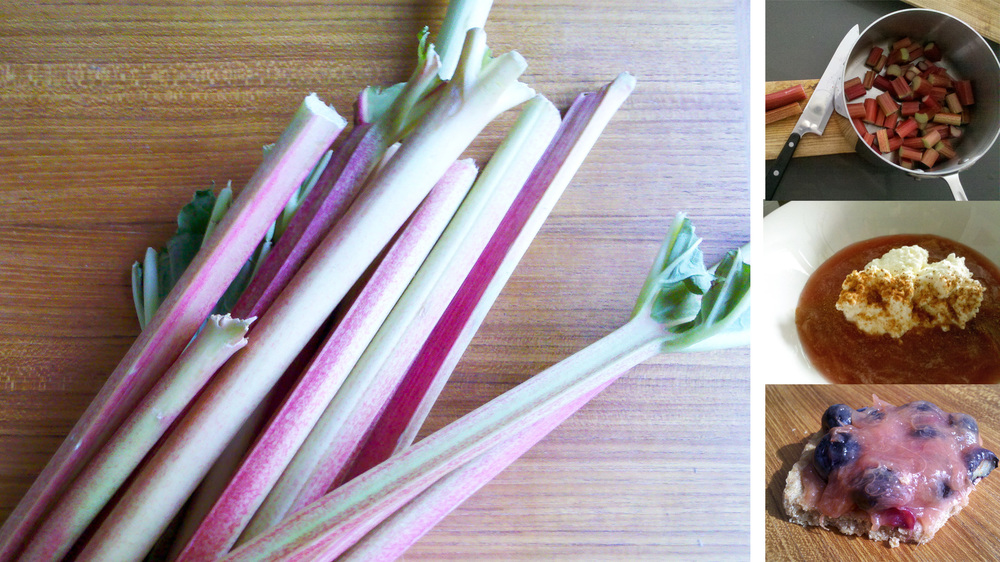
After last week’s CSA share pick-up we had a serious rhubarb explosion going on in our kitchen! Before berries are officially on a roll we’re blessed with this uniquely sweet-tart treat to start off the season. Although usually prepared and eaten much like a fruit, rhubarb is a leafy vegetable. The plant grows up to 3 feet tall with gigantic leaves unfurling in all directions. The red and green speckled wands you find in the market are the leaf stalk of the plant. The leaves themselves are toxic, containing oxalic acid crystals, so don’t try to cook ‘em up if you’re harvesting your own. The root’s popularity in ancient Chinese medicine aided Rhubarb’s migration from Asia to Europe and finally the Americas. Ben Franklin is credited for bringing rhubarb seeds to the North American east coast in 1772, but eating the stalks did not catch on until the early 1800s, when it became a popular ingredient for pie and home made wines.
However, experimentation excitement (and our appetites!) got the best of us and I ended up using it all before we could blink. You don't need strawberries to make something delicious out of rhubarb, and you also don't need to make a pie! There are so many interesting pairings and uses for rhubarb that I went a little off the deep end while considering the possibilities (rhubarb glazed pork belly anyone?). After all of my salivating I set out to find a rhubarb medium that would lend itself not only to making desserts, but also to some enticing savory treatments (if you're so inclined). The answer just happened to be the easiest technique - stewing! Breaking down the stem with some honey creates a luscious compote. No ninja culinary skills required here! Once you have your compote you're already more than half way to a delicious seasonal desert or a killer glaze for your next roast.
Rhubarb Compote
½ to ¾ cups honey
pinch of salt
pinch of cinnamon
1. Place rhubarb into a sauce pan with a pinch of salt and slowly heat up until the rhubarb begins to release its juices, stirring every few minutes.
2. Once the rhubarb juice begins to sizzle, cover the pan and turn the flame down low for 10 minutes. Stir every few minutes.
3. Begin to add the honey, tasting as you go, until your mixture has reached the perfect sweetness (whatever tastes best to you)
4. Stir in your cinnamon and voila! Rhubarb compote, ready to enjoy!
Here’s how I used my rhubarb compote:
Rhubarb Compote with Grassfed Ricotta
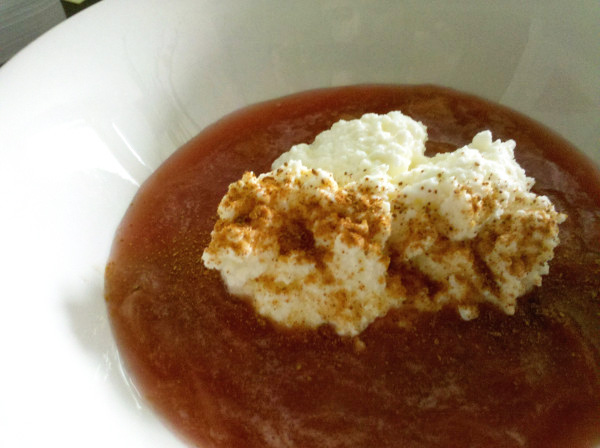
Spoon either warm or chilled Rhubarb Compote into small bowls and top with a nice big dallop of grassfed ricotta. Give it a dusting of cinnamon and it’s ready!
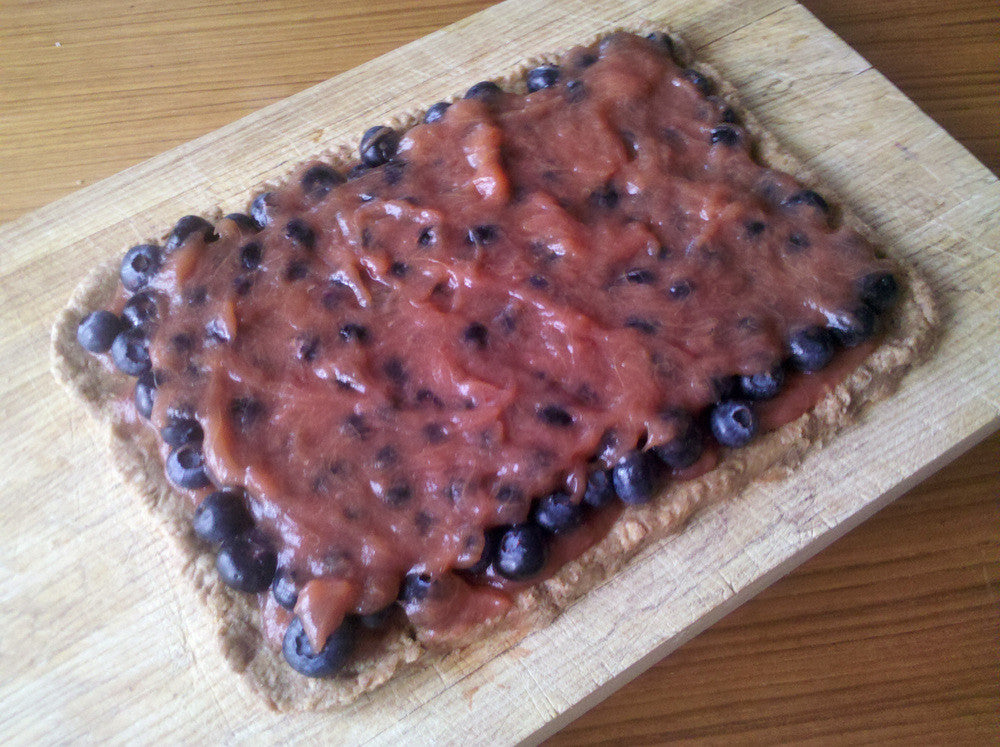
Blueberry Tart with Whiskey Rhubarb Glaze
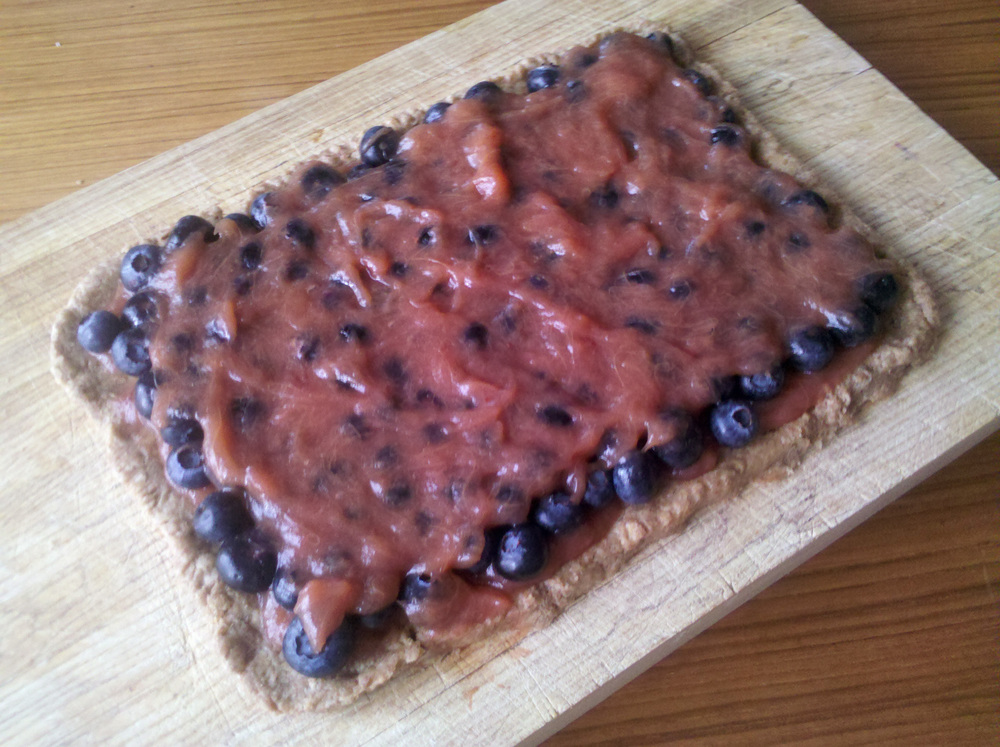
If you have a little extra time on your hands and happen to have some berries around you can try making a tart. This recipe also gives you a good excuse to bring out the whiskey! It gives a kick to the sweet-tart rhubarb and a complexity to the fresh berries.
1 tart crust (see recipe below)
2 cups rhubarb compote
½ cup whiskey
2 cups fresh blueberries (raspberries would also be delicious)
1. Prepare the tart crust. While it’s in the oven...
2. Heat rhubarb compote with whiskey and boil gently for about 15 minutes or until slightly thinner than jam consistency (it will thicken as it cools) before removing from heat.
3. When tart crust is fully baked, brush with the warm rhubarb whisky mixture. Pave your tart with berries and top with remaining glaze.
4. Allow to cool and enjoy!
Nutritious Tart Crust (adapted from Nourishing Traditions recipe for Flaky Pie Crust)
1 ⅓ cups spelt flour (you can also sub whole wheat or white flour depending on your preferences)
2 pinches of sea salt
2 pinches of stevia
½ cup butter, frozen
2 egg yolks
3 rounded tbs ice cold water
1. Sift flour, salt, and stevia into food processor.
2. Cut butter into about 16 pieces and distribute evenly over flour mixture. Pulse several times until butter is pea sized.
3. Pour beaten egg yolks over flour and pulse once or twice.
4. Add cold water and pulse 4-5 times until blended, but pea sized butter pieces are still visible.
4. Turn out onto waxed paper, wrap up and squeeze together to form a ball. Refrigerate.
5. After about an hour, roll out your crust on a pastry cloth (or wax paper if you don’t have a pastry cloth. Using flour to keep the crust from sticking to everything. It was a really hot day when I made this, and everything kept sticking. I ended up sandwiching the crust between 2 pieces of wax paper and rolling on top of the paper. Before peeling the paper off, I refrigerated the crust again for about 10 min.
6. If you have a tart pan, press the dough firmly into the pan, draping excess over the sides. Roll a rolling pin over the top to trim the crust off. If you don’t have one, like me, you can simply arrange your crust on a lined baking sheet, and pinch the edges up to form a little wall. Prick the dough with a fork a few times to avoid bubbling.
7. Place in a cool oven and turn on the heat to 300 degrees. Once the oven has reached 300 degrees bake for an additional 25 minutes.
