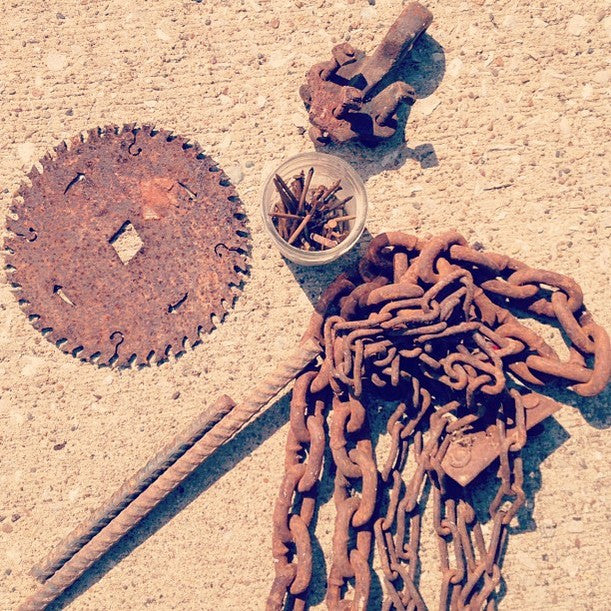
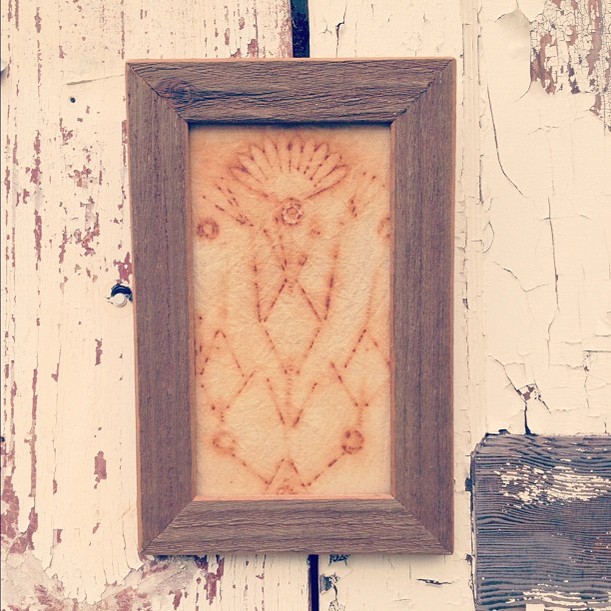
 When we moved in, one of the first things we did was clean up what is now the goat stall and holding area (where the herd hangs while the four big girls are being milked). We found pile after pile of old rusty metal. Hooks, nails, stakes, chains, saw blades, hammer heads, horse shoes... you name it, we found it - caked in dusty orange. We started filling buckets full of it that we've added to just about every week we've been here. At the time, I fantasized a bit about making something out of it all... an industrial chandelier or some sort of wall art, a collage of rusty tools on the well house wall. The most recent idea, and one that was a little more realistic in terms of time commitment, was rust dying.
Then last week, after we uncovered and hauled out another gigantic heap of metal from the pasture, Scrapple decided we had enough to justify a trip to a scrap buyer. As I helped load the big gates, I caught a familiar looking bucket out of the corner of my eye - my rusted treasures! I had a frantic moment of attempting to convince both of us that I needed them and actually almost pulled them out, but Scrapple talked me down with the logic that we will NEVER be without plenty of interesting rusty objects on this farm. Fair enough. And besides, I'd been talking about doing something with them for months and there they were, still in a bucket... Apparently this was just the motivation I needed to make some time for creativity! As he pulled the haul down the driveway I set out to find some new jems, poking around until I gathered enough for my project. 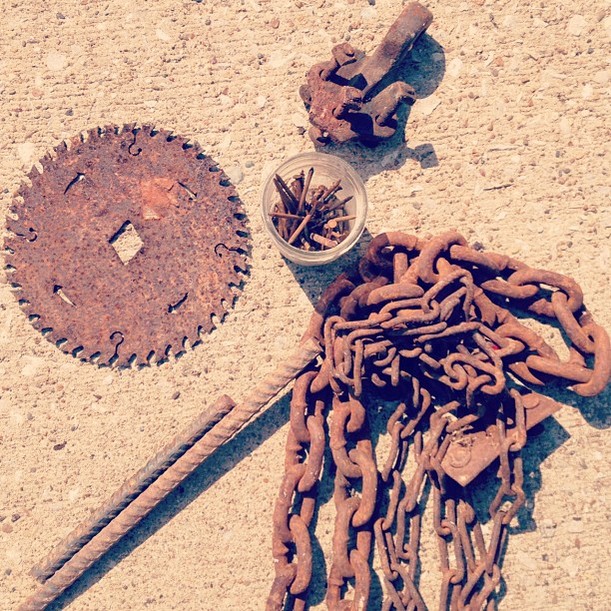
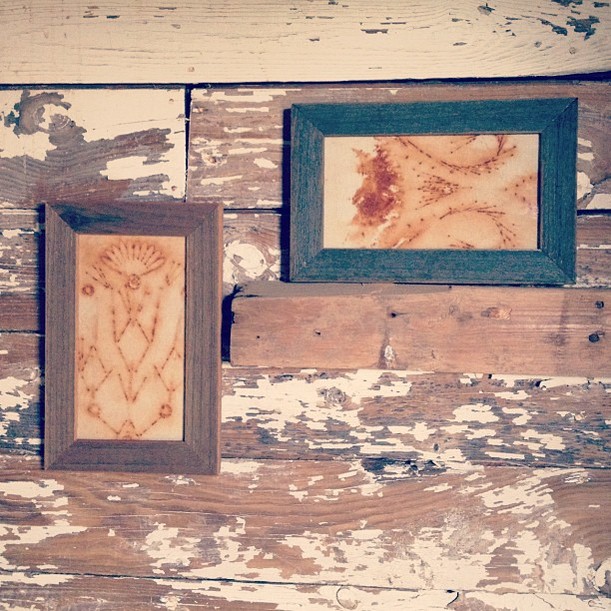
I found some canvas in my fabric stash (cotton and silk seem to have the most successful results in the bit of online research I did before trying this out) and some old wooden frames that currently housed some really crappy pen and ink sketches I had done in junior high (thanks Mom?). I popped out the cardboard backing and measured some canvas to fit (an inch around the backing)
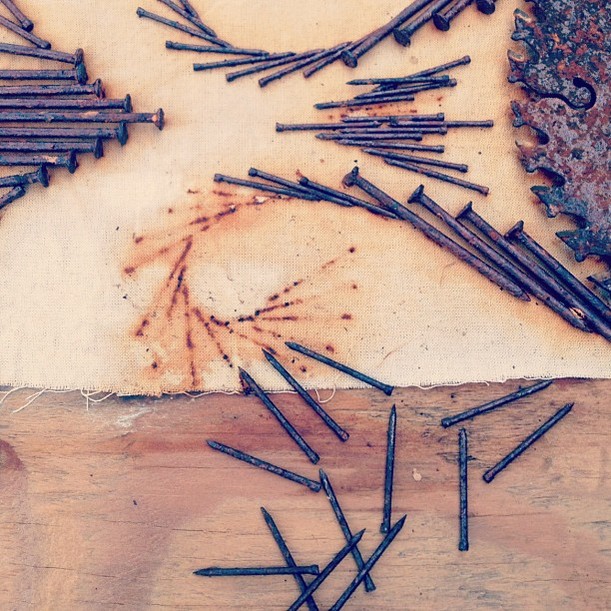
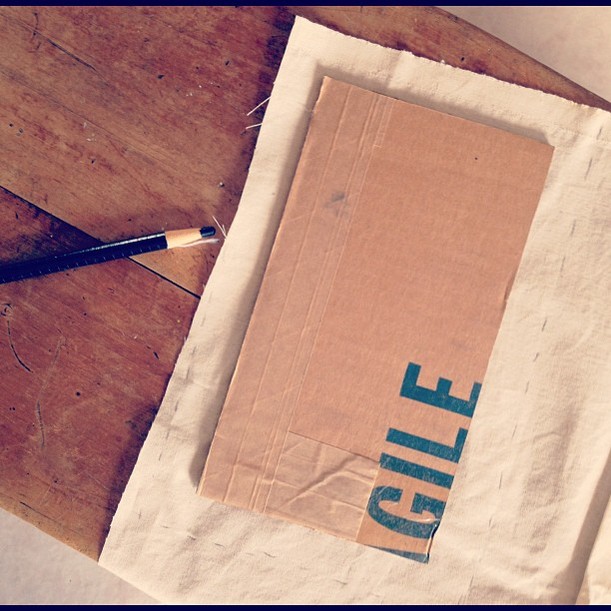 I found a 1'X2' piece of plywood to use as a work surface (Rust will dye just about anything so be careful. You could put a plastic bag down if you don't have scrap wood or cardboard to use to cover your surface) and started laying out some patterns.
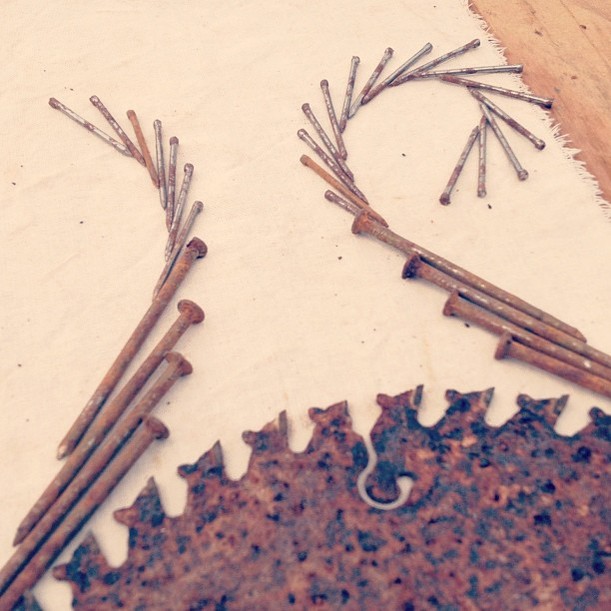
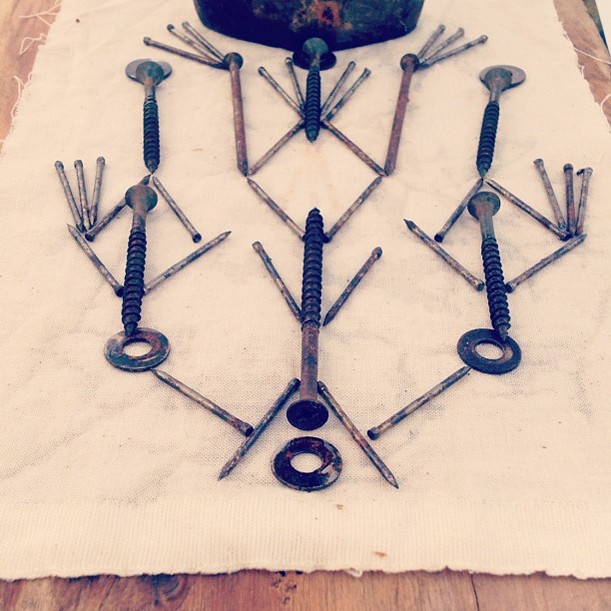
When I had decided on two that I liked, I sprayed them down with a 50/50 mixture of water and white vinegar. I left them in the sun for the day, checking on them and spritzing when needed to keep the fabric damp. By that evening the rust had started to leave it's mark and faint shadows started to appear around and under the metal.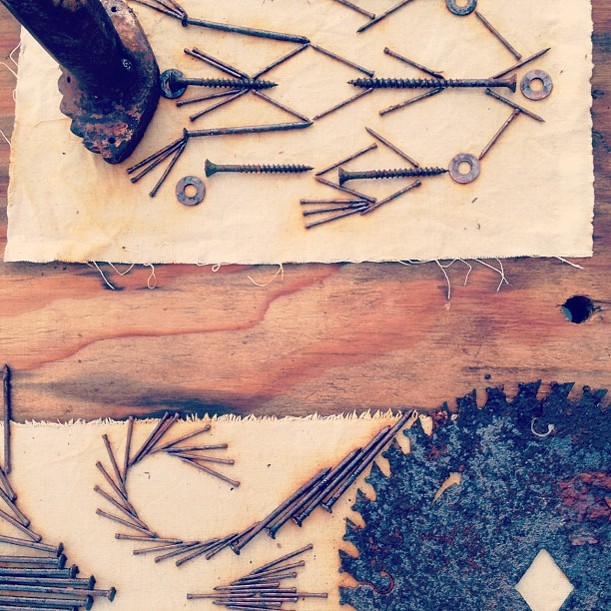 The next morning it started to drizzle. Perfect! We had plans to participate in a pasture walk and I woudn't be able to baby the rust - nature would take care of my project for me while I was gone. And it did. By the time we got home, the imprints were a nice dark color and the bleed from the rust had covered most of the fabric.
I removed all of the metal and then dunked the fabric in a salt water bath (1 tbs salt to 1 gallon water) for 5 minutes to set the rust. As they were only small pieces, I hand washed and hung them up to dry before popping them into their frames.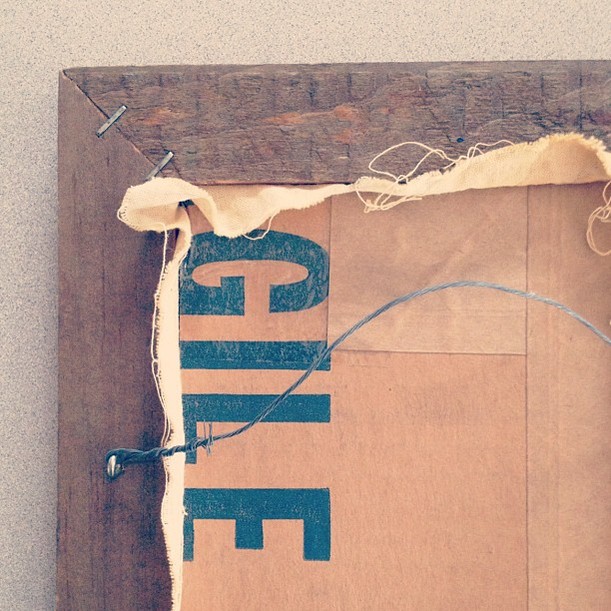
While I was still in the mood, I collected two old tees (one for me, one for Scrapple) and wrapped them in gigantic chains, stakes, and rebar to try something less calculated. After my first two pieces I realized, there's only so much coaxing you can do, the rust does what it wants.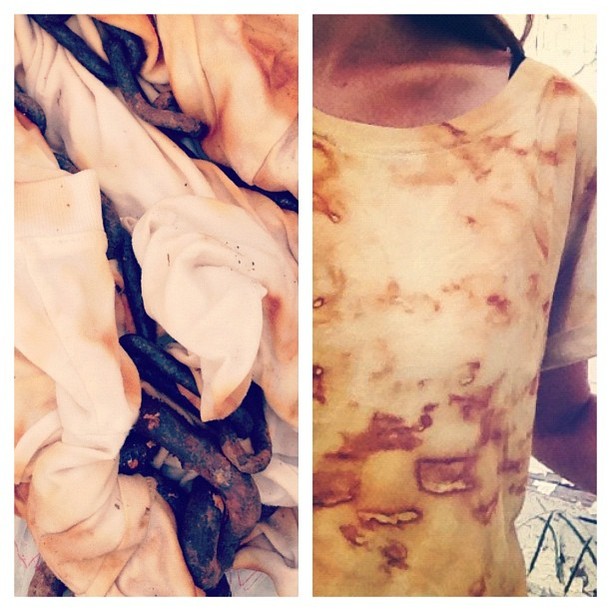
I love the discovery element of this technique - like working in the dark room. I'd love to try a quilt, or even play around with adding a batting backing and actually stitching on top of the dyed bits to give it some texture.
In a few days I'm going to try overdying the other tee with poke berry dye. Wish me luck!